Tip of the Week: Using Word to Create Company Letterhead

There’s a lot to be gained by utilizing a company letterhead on your correspondence and other printed materials, especially in terms of company recognition and professional impression. Utilizing Microsoft Word makes it easy to add this detail to your documents. For this week’s tip, we’ll show you how easy it is to create a letterhead in Word.
- Open Microsoft Word by clicking on it in the Start Menu, or the desktop icon.
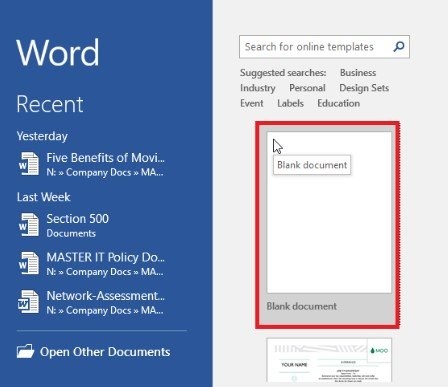
- Create a blank, portrait document.
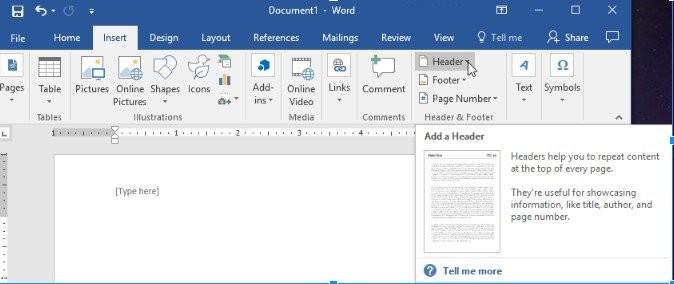
- Open Header in the Insert Toolbar.
.
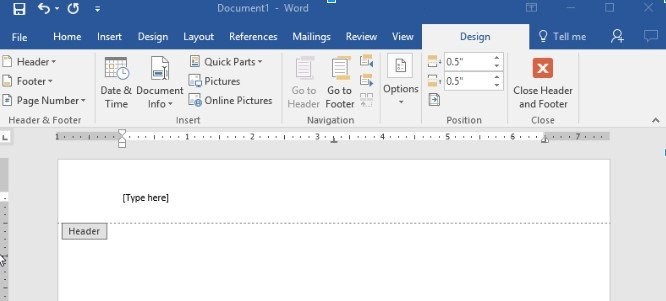
- Place your cursor into the header near [Type here].
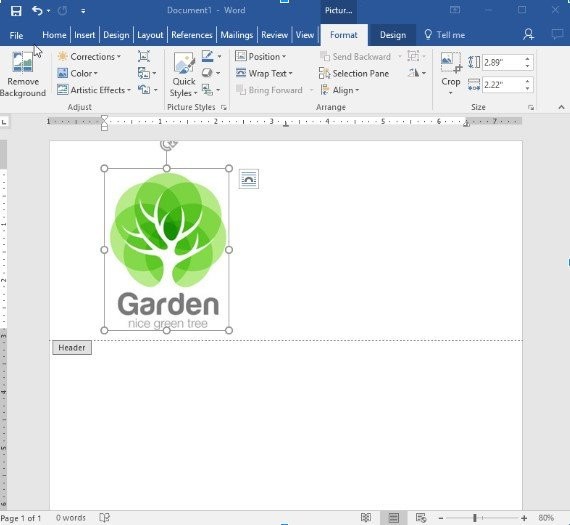
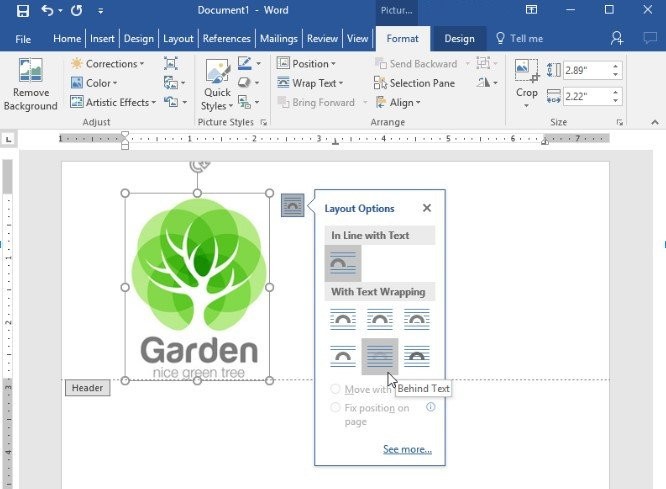
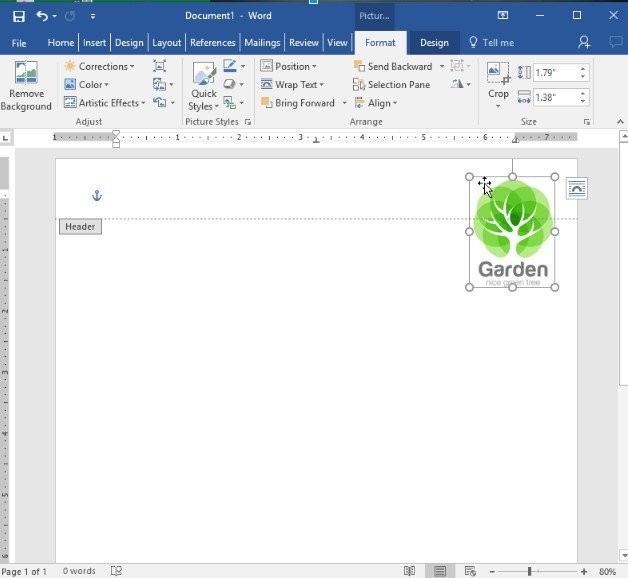
- Insert your company logo.

- Resize and reposition, as necessary.
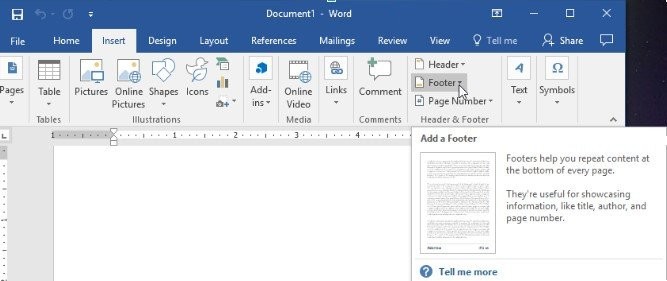
- Open the footer by accessing it under the Insert menu.
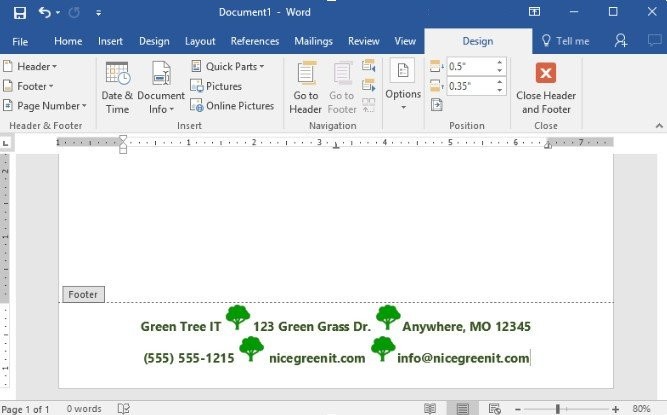
- Add your physical location’s address and the rest of your contact information. This section should be stylized to match your company’s branding, while remaining easily legible.
- Check to see that your letterhead looks good on the page by using Print Preview to view the page as it will be produced. Make any revisions necessary and repeat.

To save your new letterhead as a template, simply Save As any of the following formats: .dotx, .dot, or .dotm. You now have a simple company letterhead to use in your communications. For more tips, tricks, and how-tos, make sure you check back here on our blog!
About the Author
Reciprocal Tech
Reciprocal Technologies has been serving the Indiana area since 2013 , providing IT Support such as technical helpdesk support, computer support and consulting to small and medium-sized businesses.
Author’s recent posts
Download the
Business Owner’s Cybersecurity Blueprint


